Understanding the basics of etching, particularly for socket tools, requires acknowledging both its purpose and methods. Etching involves engraving inscriptions or designs onto surfaces, and in this context, it's usually done on metal socket sets. This practice not only aids in organizing tools but also adds a personalized touch, distinguishing individual sockets with size markings or a maker's mark.
Different methods can be employed for etching. A common approach is using a cordless drill set, enabling users to achieve precision engraving on their tools. Laser etching stands out for its ability to produce clean, laser-etched lines that ensure durability even when sockets are frequently used. For those without access to laser technology, a paint pen or enamel paint can do wonders when applied correctly to the socket's surface, allowing you to join creativity with functionality.
Etching not only enhances the appearance of tools but is functional in a well-organized workshop. Whether it’s a drawer in a tool chest or a location in a garage, engraved sockets reduce time spent searching for the right tool. It’s worth noting the importance of factoring in the socket size, drive type, and the material composition like chrome socket or impact sockets, as these elements influence both the etching technique and the tool’s longevity.
Forums and posts online often report a variety of community-driven ideas and solutions to enhance your etching approach, fostering a collaborative space where tool enthusiasts can share their experiences and techniques. These shared insights can be invaluable when preparing your workspace or troubleshooting common issues while etching. This foundational understanding is just the beginning — preparing your workspace and selecting the proper tools will further solidify the etching process.
See offer

Choosing the Right Cordless Drill Set for Etching
Essential Criteria for Your Cordless Drill Set Selection
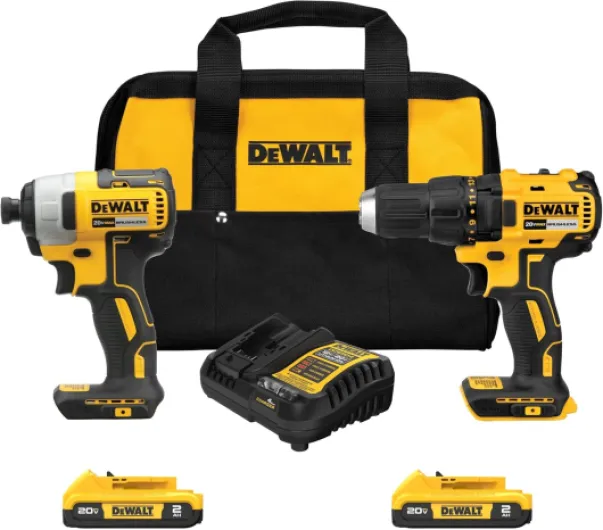
When thinking about etching socket tools using a cordless drill set, the right selection can make an enormous difference. Not all drill sets are created equal, and understanding what features will benefit your engraving activities is crucial. This selection is not merely about power; it’s about compatibility and precision.
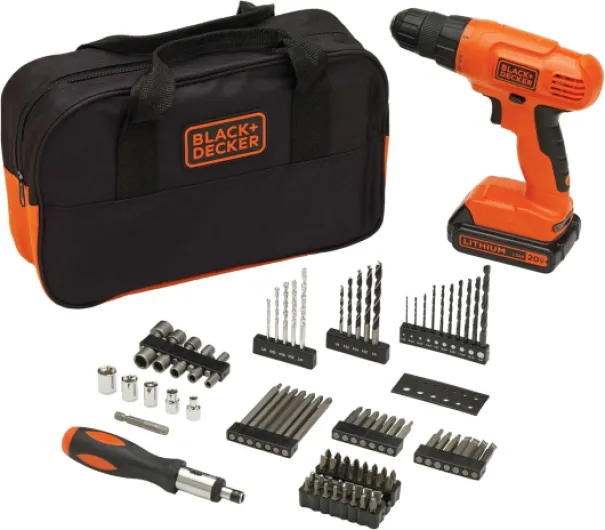
- Power and RPM: The power output of the drill plays a huge role in how effectively it handles different metals. Look for a drill with variable speed settings. This flexibility allows you to adjust based on the socket size or material, whether chrome socket or impact sockets.
- Battery Life: Long battery life ensures there's minimal interruption while working. Drills that support lithium-ion batteries are often preferable due to their long-lasting charge and efficiency.
- Speed Control: Adequate speed control aids in precise etching. Too fast can slip or damage the socket, while too slow can be less effective. Always opt for a model with customizable speed ranges to accommodate various socket sets.
- Size and Ergonomics: When etching, you’ll be working with detail, so the size of the drill matters. Smaller, ergonomically designed tools can reduce fatigue and improve precision over extended periods.
- Compatibility with Accessories: Ensure your drill is compatible with a variety of attachments and tools specifically for etching, such as those needed for laser etching or paint pens. Consider if additional chuck sizes are available to fit different drill bits for metal work.
- User Reviews and Forums: Checking user reviews on forums can provide practical insights. Users often report on the tool’s efficiency and reliability over time, helping you avoid potential frustration.
Etching requires consistent results, so it’s prudent to invest in a top-quality cordless drill set that meets these essential criteria. The interactions between the drill's design and the different engraving sockets or socket sets cannot be overstated—each choice affects the final results. Opt for reliability to maintain your tool chest’s quality, and ensure each tool is well joined and operating smoothly in your workspace.
See offer
Organizing Your Space for Optimal Efficiency
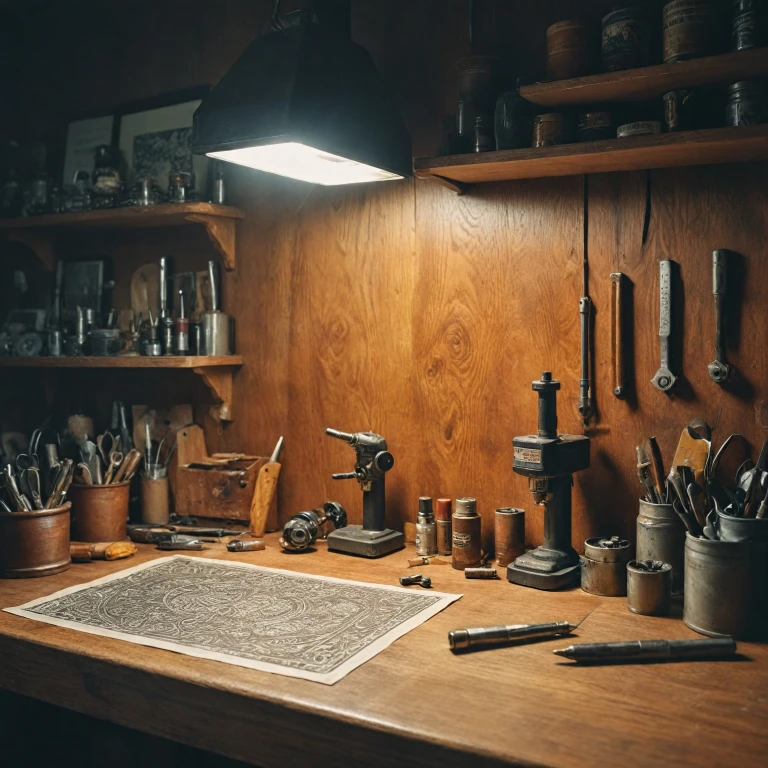
Creating an efficient workspace is crucial for a successful etching process. When working with a cordless drill set and etching socket tools, having a clutter-free and well-joined area ensures that every detail—from size markings to engraved initials—is done accurately and safely. Here are some fundamental steps to prepare your workstation:
- Select the Location: Choose a well-ventilated area to prevent inhaling dust or fumes, especially if you're using enamel paint after etching. Natural lighting aids in precision when working with small items like sockets and socket sets.
- Organize Your Tools: Lay out all essential tools, including your cordless drill, socket set, impact sockets, paint pen for marking, and laser or engraving tools. Making everything accessible helps maintain focus on the task at hand.
- Surface Preparation: Clean the sockets thoroughly before starting. A clean socket surface ensures that engravings are neat and visible, whether it's a chrome socket or one of a different metal.
- Safety Measures: Even with compact tools, safety should be a priority. Ensure you have protective gear such as gloves and goggles, especially if working with laser etching devices.
By prioritizing an organized workspace, you pave the way for effective etching, avoiding common mishaps described in online forums or posts. For a deeper understanding of compatible drill bits for different materials, consider exploring resources that depict the versatility of such tools, like
Phillips screwdriver guide. With these preparations, your tools will not just be marked for recognition but also ensure no report on unforeseen damage. A well-maintained workspace also allows for fabulous results with sockets laser engraved flawlessly every time.
See offer
Etching socket tools with a cordless drill set is an art form that merges creativity with functionality. To ensure success, you'll need to follow a series of carefully considered steps. Let’s delve into this engaging process.
Gathering the Right Tools
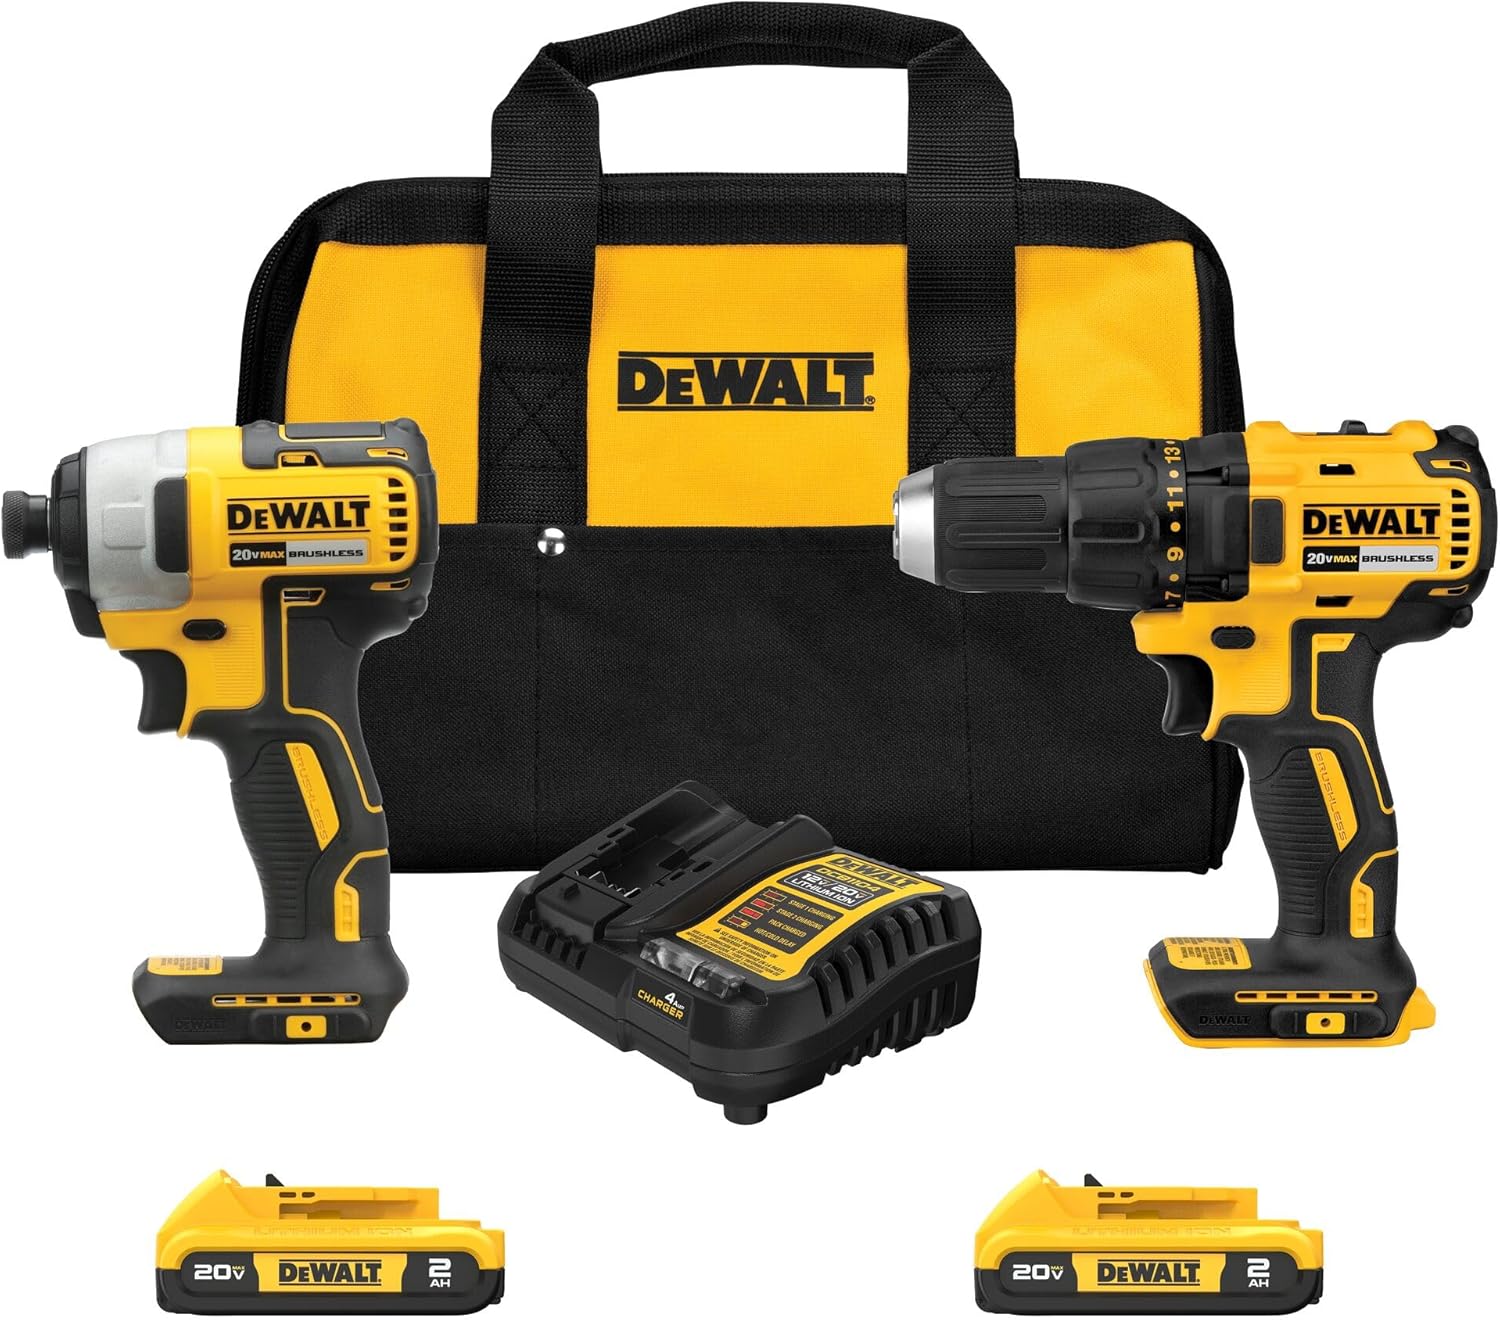
Before you start, gather all necessary materials. This includes a cordless drill set with the appropriate drill bit size for the engraving task at hand. Impact sockets and chrome socket sets are ideal for etching due to their durable metal composition. Prepare a laser etching tool, if available, and a paint pen for filling in the engraved sockets with color.
Setting Up a Safe Workspace
A well-prepared workspace is crucial. Ensure good lighting and adequate ventilation. Secure the socket firmly to prevent movement, which could cause inaccurate etching. Wear safety goggles to protect your eyes from metal shavings.
Initial Prep: Cleaning and Marking
Start by cleaning the socket thoroughly. Use a clean cloth to remove dirt and oil. Mark your design or makers mark onto the socket using a pencil or paint pen. This will guide your tool as you engrave.
Precision Engraving
- Engraving Process: Attach the appropriate bit to your drill. Begin engraving by lightly etching over your marked areas. If utilizing a laser etching tool, set it to the correct drive type and socket size.
- Steady Hand Technique: Maintain a steady hand and control the pressure to avoid slipping that might damage the sockets.
- Tool Setting: Adjust the tool speed according to the material hardness of the sockets.
Adding Detail with Color
After engraving, use a paint pen to fill in size markings and other details. Apply enamel paint for durability. Allow the paint to dry completely before handling the socket sets.
Finishing Touches
Once your etching and paint dry, clean the socket again to ensure no residue is left. Engage in forums and tool chests communities to share your experience or seek advice on more complex designs.
Now, you are equipped with the knowledge to etch sockets with precision and creativity, enhancing both the utility and aesthetic of your tools.
See offer
Maintaining Your Etched Socket Tools
Maintaining Your Etched Tools for Longevity
Once you've mastered the art of etching your socket tools with your cordless drill set, it is crucial to maintain them to ensure they remain in top condition. Whether you're working with impact sockets or a more extensive socket set, keeping your tools well-maintained will not only preserve their functionality but also the clarity of your engravings.
- Regular Cleaning: Clean your etched tools regularly to prevent dirt buildup. This is especially true for engraved sockets, as particles can easily settle in the etching grooves. Use a clean cloth to wipe them down after each use, ensuring the chrome socket surfaces remain spotless.
- Protecting Engravings: Consider applying a thin layer of enamel paint over your etchings. This can serve as a protective barrier against wear. Just be cautious and allow the paint to dry completely before using the tools again.
- Routine Inspections: Check your tools frequently for any signs of wear or damage. Inspect the socket size markings to ensure that they are still visible and legible. If you notice any fading or chipping, you might want to touch them up with a paint pen.
- Storage Solutions: Organizing your tools efficiently in tool chests can prevent unnecessary damage. Proper storage will help maintain their integrity and prevent the size markings from losing their sharpness.
- Monitor the Drive Type: Keep track of the drive type in your socket sets. Changes in drive type performance can indicate misalignment or loosening, which could affect your work.
By adhering to these maintenance tips, you can ensure that your laser etched tools stay in optimal condition, providing you with precise and efficient work each time. Engraving sockets requires investment in time and effort, so taking these steps will help protect that investment by keeping your tools serviceable and reliable for years.
Troubleshooting Common Etching Issues
When working with your cordless drill set to etch socket tools, several issues might arise, making it essential to address them upfront. Here's how to manage common obstacles:
- Uneven Engraving Depth: This can occur if the pressure applied is inconsistent. For a smoother result, ensure that your drill is running at a suitable speed and that you maintain a steady hand. Remember, the engraving on sockets should be at an even depth to ensure clarity.
- Engraving Errors on Chrome Socket: Chrome socket tools can be more challenging due to their smooth surface. If you find the laser etching isn't working well, consider using a paint pen to highlight size markings. Let the enamel paint dry thoroughly to avoid smudges.
- Misalignment of Size Markings: This can happen if the socket isn't secured properly. Use a vise to hold the tool in place, ensuring it does not shift during the process. Checking the alignment before starting the work can help prevent errors.
- Damage to Tools: If you notice wear and tear on your engraved tools, it might be due to incorrect use of the drill set. Always check the drive type and ensure that the impact sockets are suitable for the specific task.
- Skipping Engraving: Sometimes, content may skip during the drilling process. Be sure to maintain a consistent motion, and don’t hesitate to reply in forums or consult posts for advice on successful techniques. Expanding your repertoire with reports from more experienced users can often offer invaluable insights.
Regular maintenance of both the drill set and the etched socket tools is crucial in preventing these issues. Properly clean socket tools and store them in well-organized tool chests to avoid damage over time. Keeping blobs of paint out of sockets while labeling with permanent markers or laser etched methods can also help ensure long-lasting visibility.